Air Fryer Chicken Drumsticks: 6 Crispy Skin Hacks
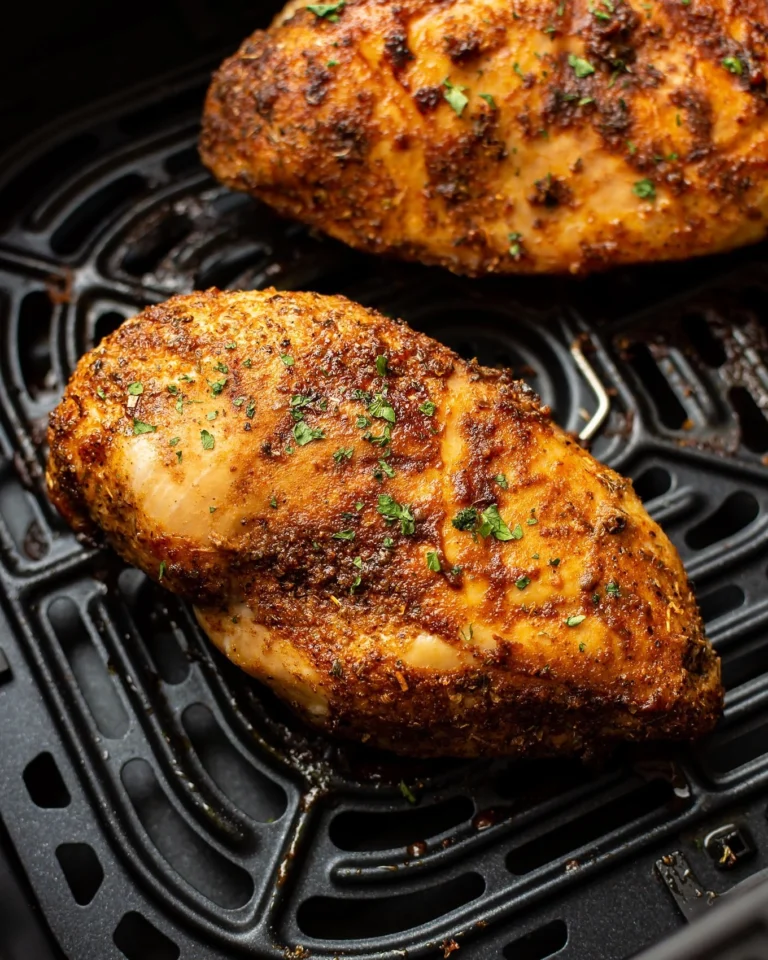
I started making these air fryer chicken drumsticks on a night when I didn’t feel like dealing with hot oil or a sink full of dishes. I just wanted chicken with real bite to it. The kind where the skin actually crackles when you cut into it. The first batch surprised me, and the second one disappeared even faster. That’s when I knew this method was staying in my regular rotation.
After that, I couldn’t stop testing little changes. Drying the skin better. Adjusting the timing. One small step at a time until the skin turned out exactly how I wanted it. These six crispy skin hacks came from those repeat tries, not a lab or a rule book. Just me chasing that perfect crunch and getting a little too excited every time it worked.
Ingredients for Air Fryer Chicken Drumsticks
- 12 tbsp olive oil
- 8 tbsp lemon juice
- 2 tbsp garlic powder
- 2 tbsp paprika
- 1 tbsp onion powder
- 1 tbsp salt
- 1 tbsp black pepper
- 1 tbsp cornstarch
- 12 chicken drumsticks
How to Make Air Fryer Chicken Drumsticks
This is one of those recipes that feels easy from the start. No deep frying. No splatter. Just a few smart steps that make a real difference by the time the chicken comes out. I’ve made these enough times to know the process matters, but it never feels fussy. Once you do it once, it sticks.
Dry the Drumsticks Well
I always start by patting the chicken completely dry with paper towels. This step matters more than people think. The drier the skin, the better it reacts in the air fryer. I take my time here and don’t rush it.
Season and Coat
I add the olive oil, lemon juice, garlic powder, paprika, onion powder, salt, pepper, and cornstarch to the drumsticks. Then I use my hands to coat everything evenly. It looks simple, but this is where the surface of the chicken starts to change.
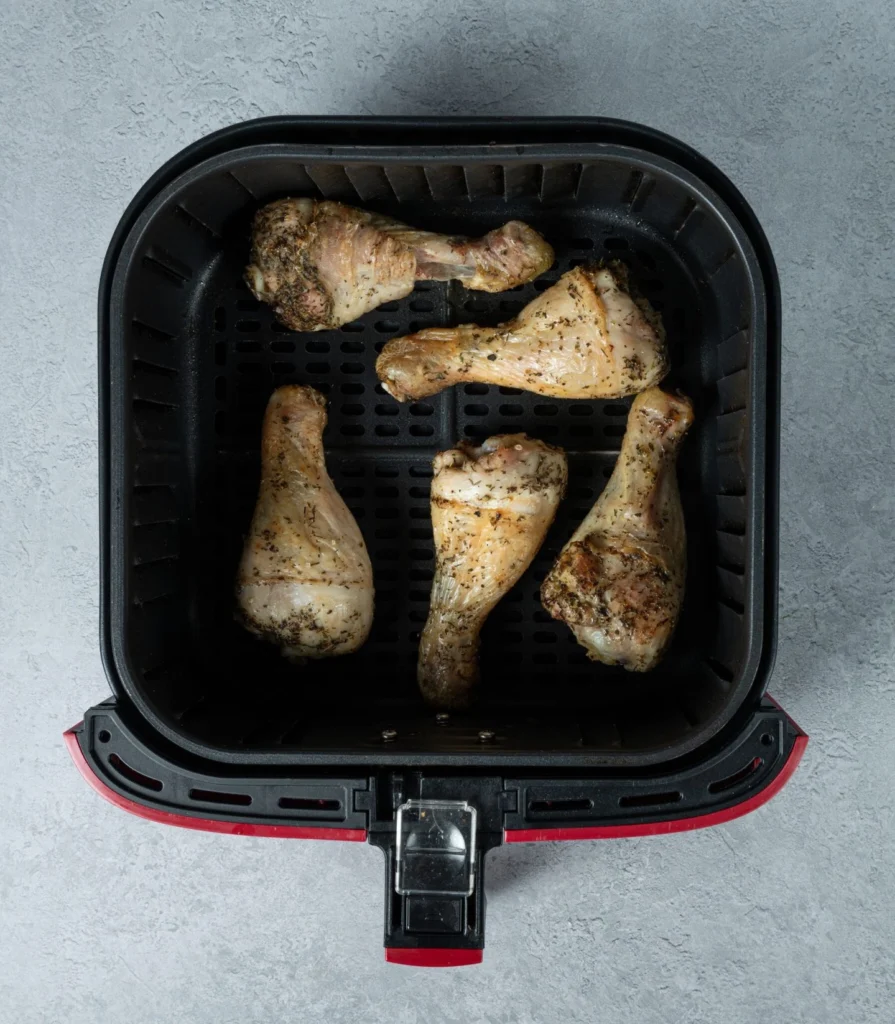
Arrange in the Air Fryer
I place the drumsticks in the air fryer basket in a single layer. No stacking. No crowding. If they’re touching too much, the skin won’t do what you want it to do. I cook in batches if needed.
Air Fry and Flip
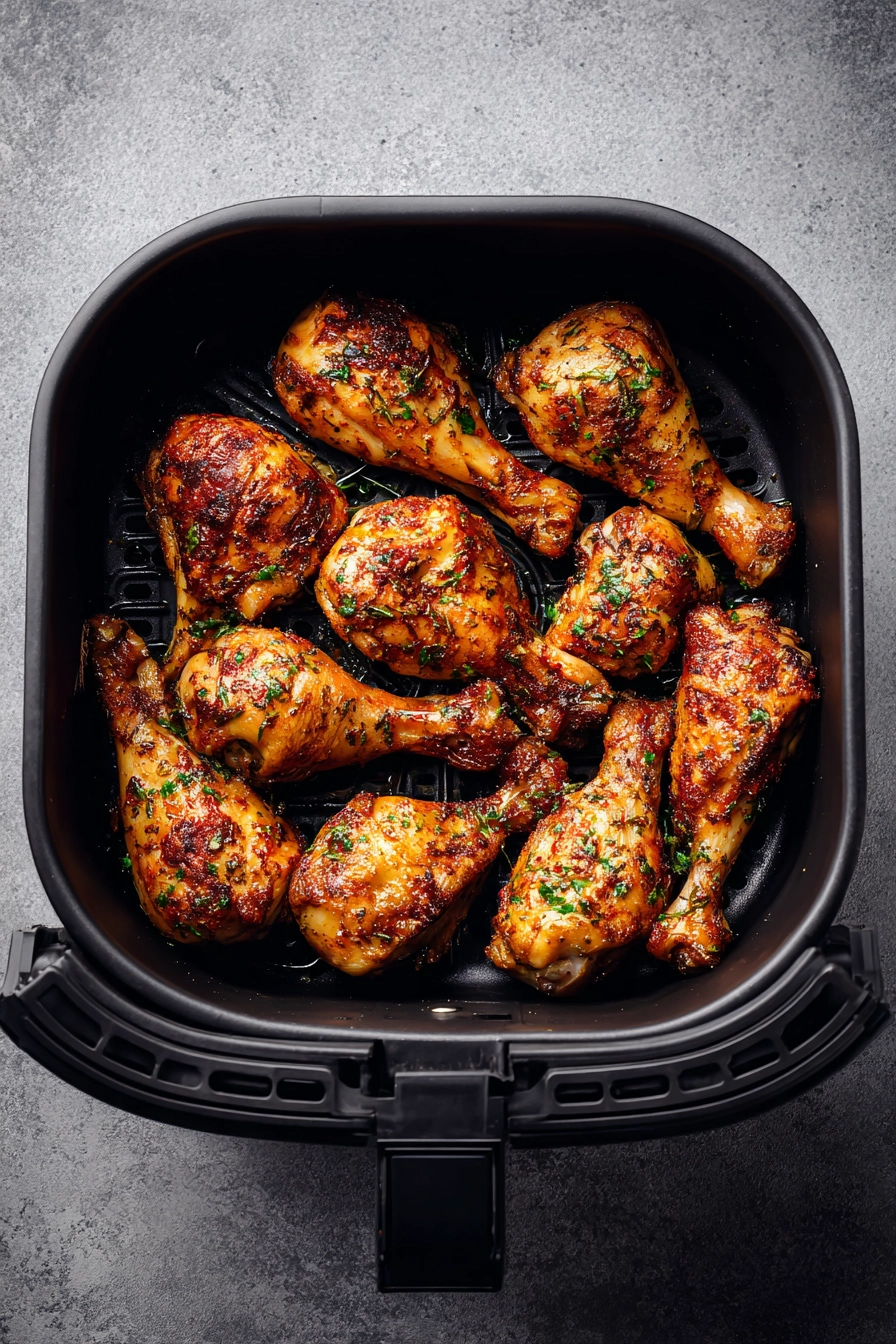
I cook them at 400°F, flipping halfway through. The skin tightens and starts to change color. That flip helps both sides cook evenly and keeps things moving in the right direction.
Rest Before Serving
Once they’re done, I let them rest for a few minutes before serving. It’s tempting to grab one right away, but that short rest helps everything settle and makes the texture better when you bite in.
6 Crispy Skin Hacks That Actually Work
I didn’t learn these all at once. Each one came from a batch that was almost right, then another that was better, and then one where I finally stopped adjusting. Drying the skin longer than you think you need to helps more than any seasoning ever will. A light coating of cornstarch changes the surface in a way oil alone never does. Giving the drumsticks space in the basket matters, even when it’s tempting to squeeze them in.
The rest comes down to patience and timing. Starting with the skin side down helps it tighten before it browns. Flipping once, not five times, keeps the skin from tearing. And letting the chicken sit for a few minutes after cooking keeps the skin from softening right away. None of these are complicated, but together they make the difference between chicken that’s fine and chicken you keep thinking about later.
Easy Swaps and Flavor Variations to Try
Once you’ve made these a couple of times, it’s hard not to start changing things. Sometimes I swap the paprika for smoked paprika when I want something deeper. Other times I skip the lemon and use a splash of vinegar instead. Small changes like that don’t break the recipe. They just shift it slightly, which keeps it interesting.
You can also play with the seasoning mix without touching the method. Add chili powder for heat. Use dried herbs if that’s what you have. Even changing the oil works, as long as you keep the coating light. The process stays the same. That’s what makes these drumsticks easy to come back to without feeling repetitive.
What Goes Best with Air Fryer Chicken Drumsticks
I usually think about sides while the chicken is already cooking. Something simple that doesn’t need much attention. A bowl of rice. Roasted vegetables. Even a quick salad when I don’t feel like turning on the stove again. The drumsticks hold their own, so whatever you pair with them doesn’t need to be complicated.
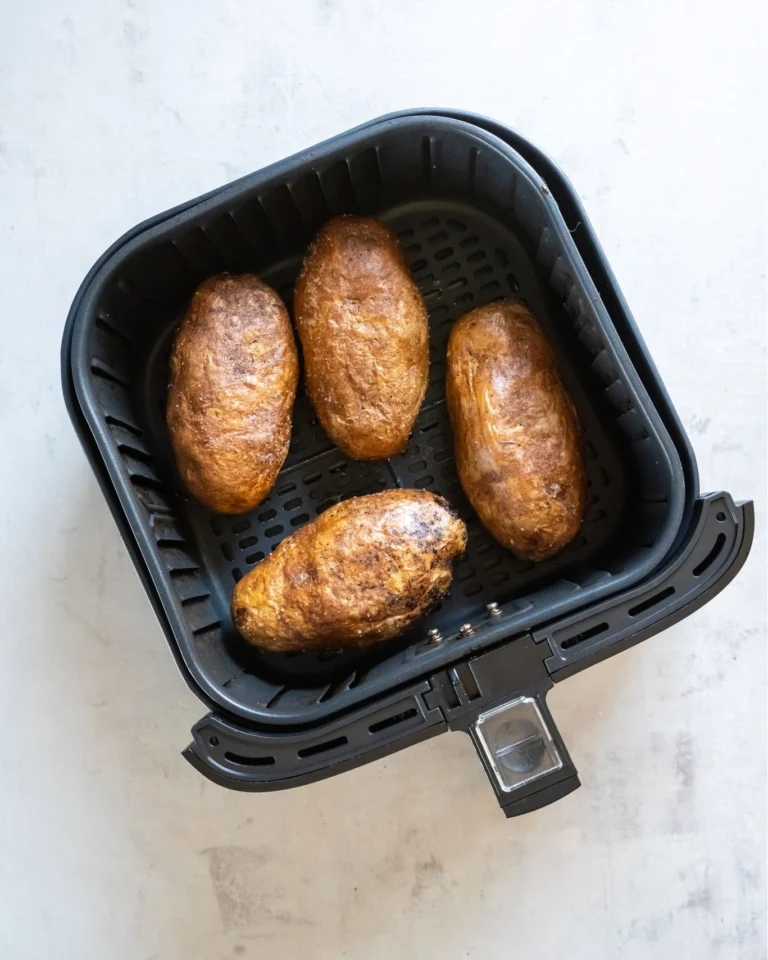
They also work well when you’re feeding more than just yourself. I’ve served them with potatoes, flatbread, or anything that can soak up the juices left on the plate. The goal is balance, not planning a whole menu. If it’s easy and you actually want to eat it, it probably works.
Saving Leftovers Without Losing the Crunch
I’ll be honest, leftovers weren’t great the first time I tried. I tossed them in a container while they were still warm and paid for it later. The trick is letting the drumsticks cool completely before storing them. Once they’re cool, I place them in an airtight container, but I don’t stack them tight. A little space helps more than you’d expect.
When it’s time to reheat, I always go back to the air fryer. Just a few minutes at a high temperature brings the skin back to life. I avoid the microwave completely because it undoes all the work you put in. Reheated this way, they’re still worth eating and don’t feel like yesterday’s food.
Nutritional Information
I like to look at this as a general reference, not a set of rules. These values are an estimate for one drumstick, based on average size and the ingredients used. Small changes in seasoning or oil can shift the numbers slightly.
Calories: about 210 kcal
Protein: about 18 g
Fat: about 15 g
Saturated Fat: about 3 g
Carbohydrates: about 2 g
Fiber: about 0 g
Sodium: about 320 mg
Frequently Asked Questions
Do I need to preheat the air fryer?
I usually do, especially when skin texture matters. A hot basket helps the chicken start cooking the second it goes in, instead of slowly warming up. That first contact makes a difference. It only takes a few minutes and sets the tone for the whole cook.
Can I use frozen drumsticks?
You can, but I don’t recommend it if you’re after good skin. Frozen chicken releases moisture as it cooks, which works against you here. If that’s your only option, thaw them fully and dry them well before seasoning.
How do I know when the drumsticks are done?
I go by internal temperature and how the skin looks. The thickest part should reach 165°F. The skin should feel firm, not soft or loose. If it still looks pale, a few extra minutes usually fixes it.
Why did my skin turn out patchy?
This usually happens when the basket is crowded or the coating isn’t even. The air needs room to move around each piece. I’ve learned that fewer drumsticks per batch gives more consistent results.
Can I make these ahead for a gathering?
Yes, with one condition. Cook them fully, let them cool, and then reheat in the air fryer just before serving. That final heat brings the skin back, which makes them worth putting on the table.
Air Fryer Chicken Drumsticks: 6 Crispy Skin Hacks
6 drumsticks
servings10
minutes22
minutes1,260
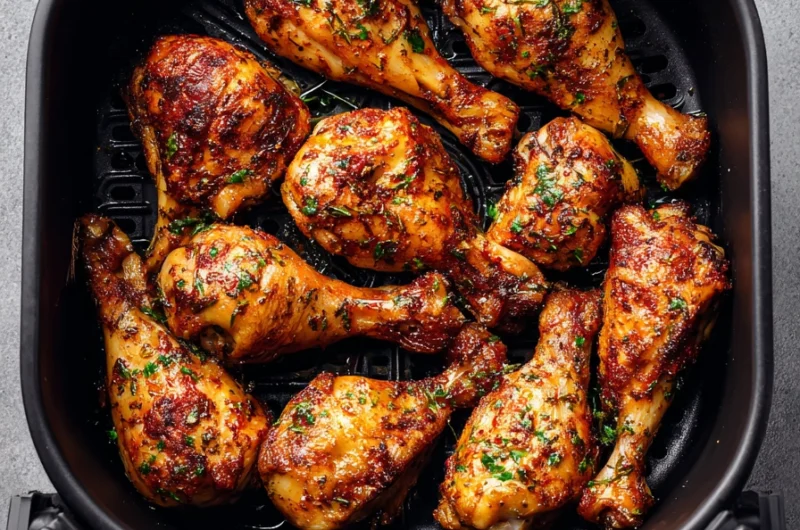
kcalAir fryer chicken drumsticks cooked with simple seasoning and tested techniques that help the skin turn crisp while the meat stays juicy. This recipe focuses on method over shortcuts and works batch after batch.
Ingredients
12 tbsp olive oil
8 tbsp lemon juice
2 tbsp garlic powder
2 tbsp paprika
1 tbsp onion powder
1 tbsp salt
1 tbsp black pepper
1 tbsp cornstarch
12 chicken drumsticks
Directions
- Pat the chicken drumsticks completely dry using paper towels.
- In a large bowl, add olive oil, lemon juice, garlic powder, paprika, onion powder, salt, pepper, and cornstarch.
- Add the drumsticks and coat them evenly using your hands.
- Preheat the air fryer to 400°F.
- Arrange the drumsticks in a single layer in the basket, leaving space between each one.
- Air fry for 22 minutes, flipping once halfway through cooking.
- Check that the internal temperature reaches 165°F.
- Let the chicken rest for a few minutes before serving.
Notes
- Drying the chicken well before seasoning is key.
- Do not overcrowd the basket. Cook in batches if needed.
- Reheat leftovers in the air fryer, not the microwave.